First CleaningUpdated 12 days ago
We recommend cleaning the machine after each brew cycle to ensure proper hygiene and flavor consistency.
Rinse and sanitize the keg, tubes, and dispensing components following the tutorial.
1.Fermentation Keg Cleaning

Reference video:
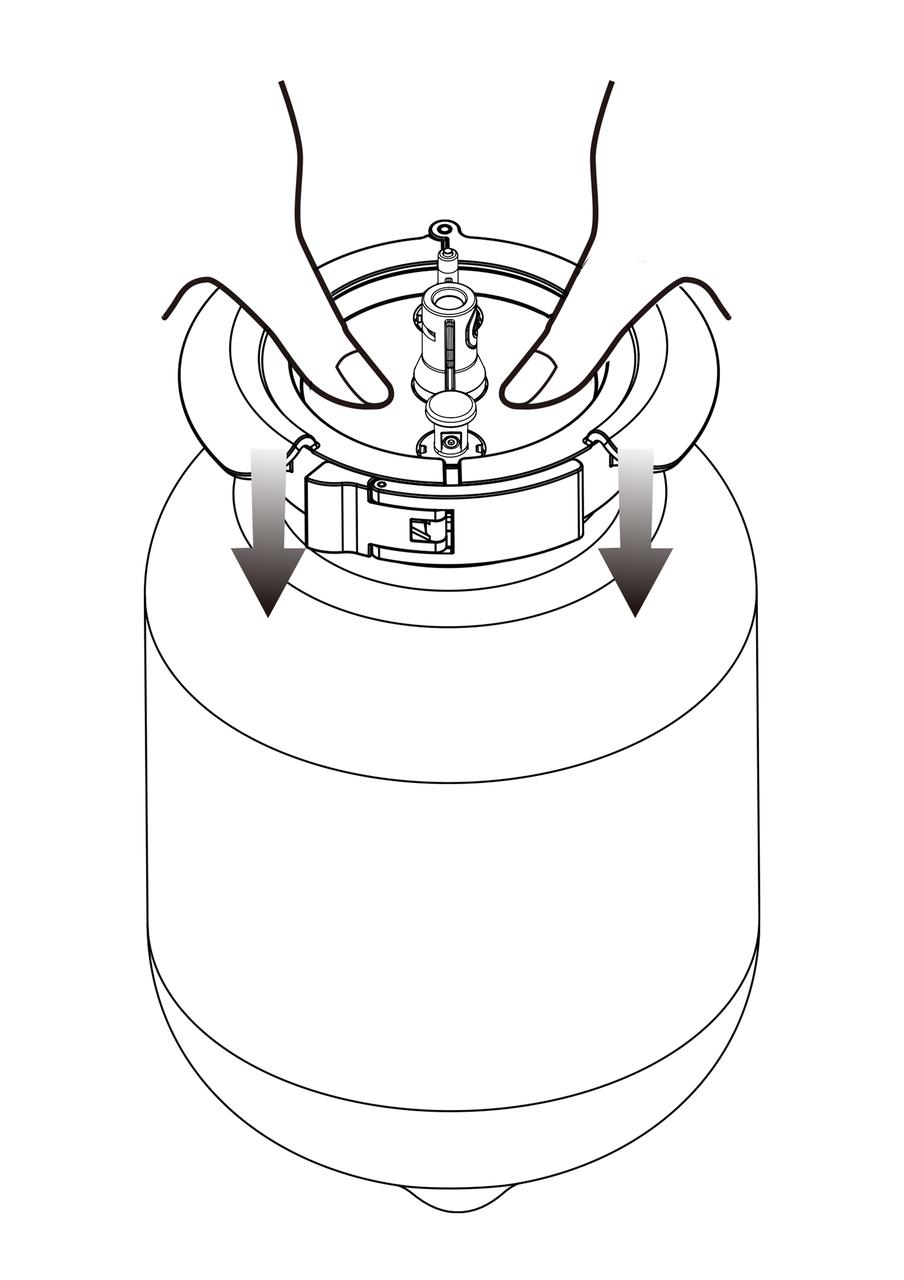
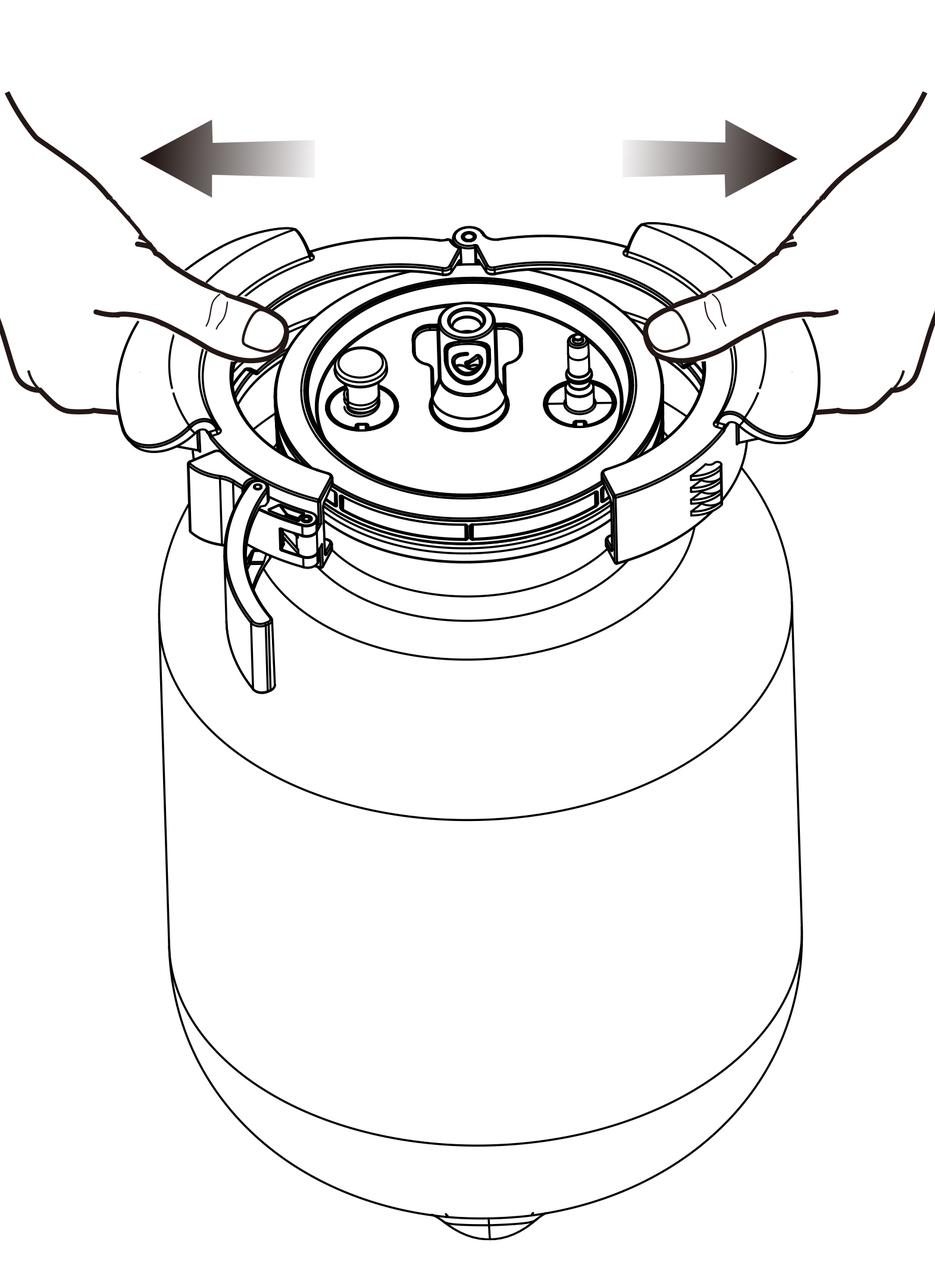
To ensure proper airtightness of the keg, a sealing ring is placed between the keg and its lid. This may cause noticeable resistance when removing the lid. Please be cautious of potential beer spray during removal.
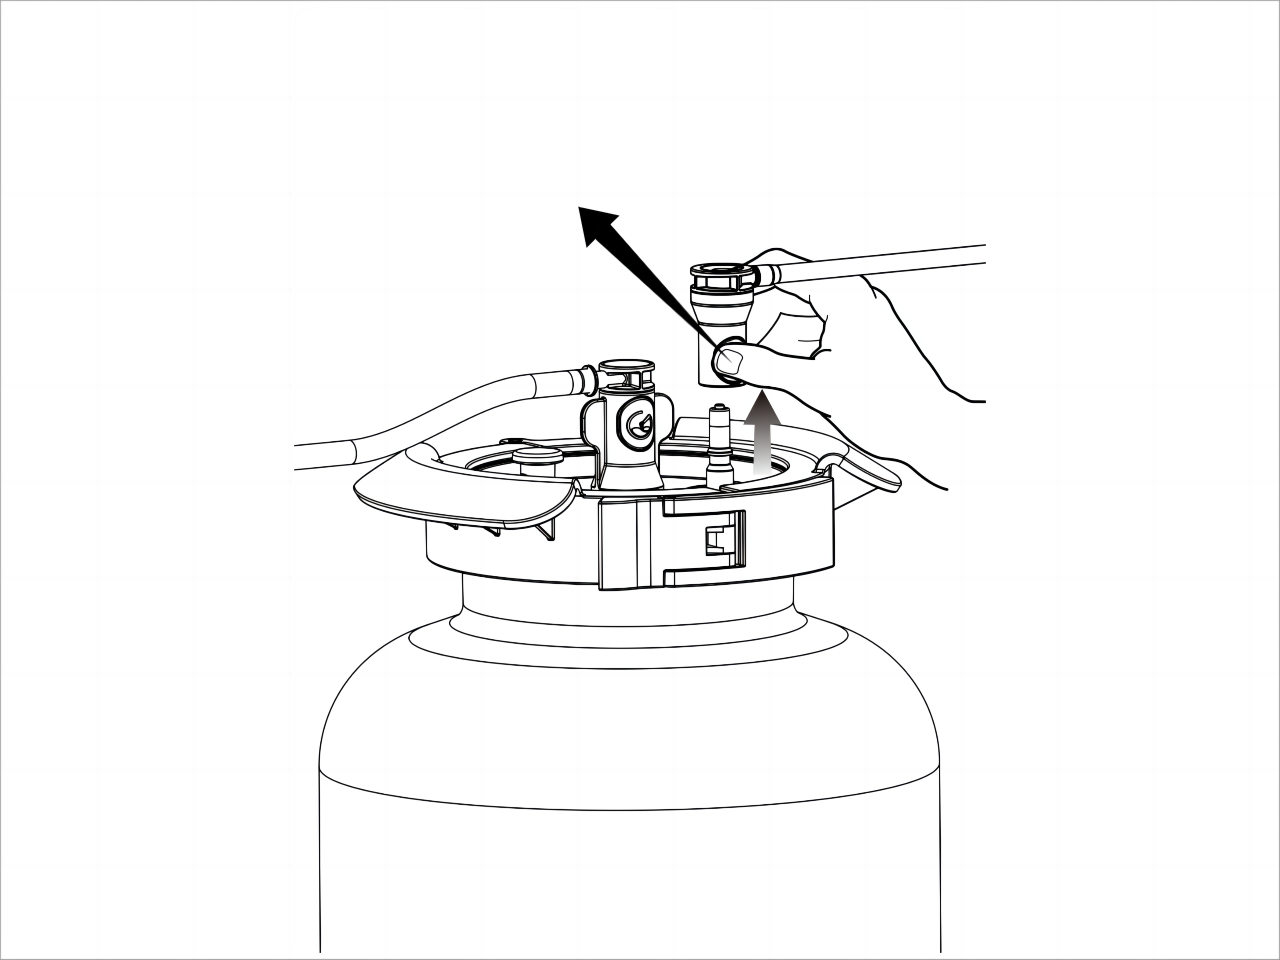
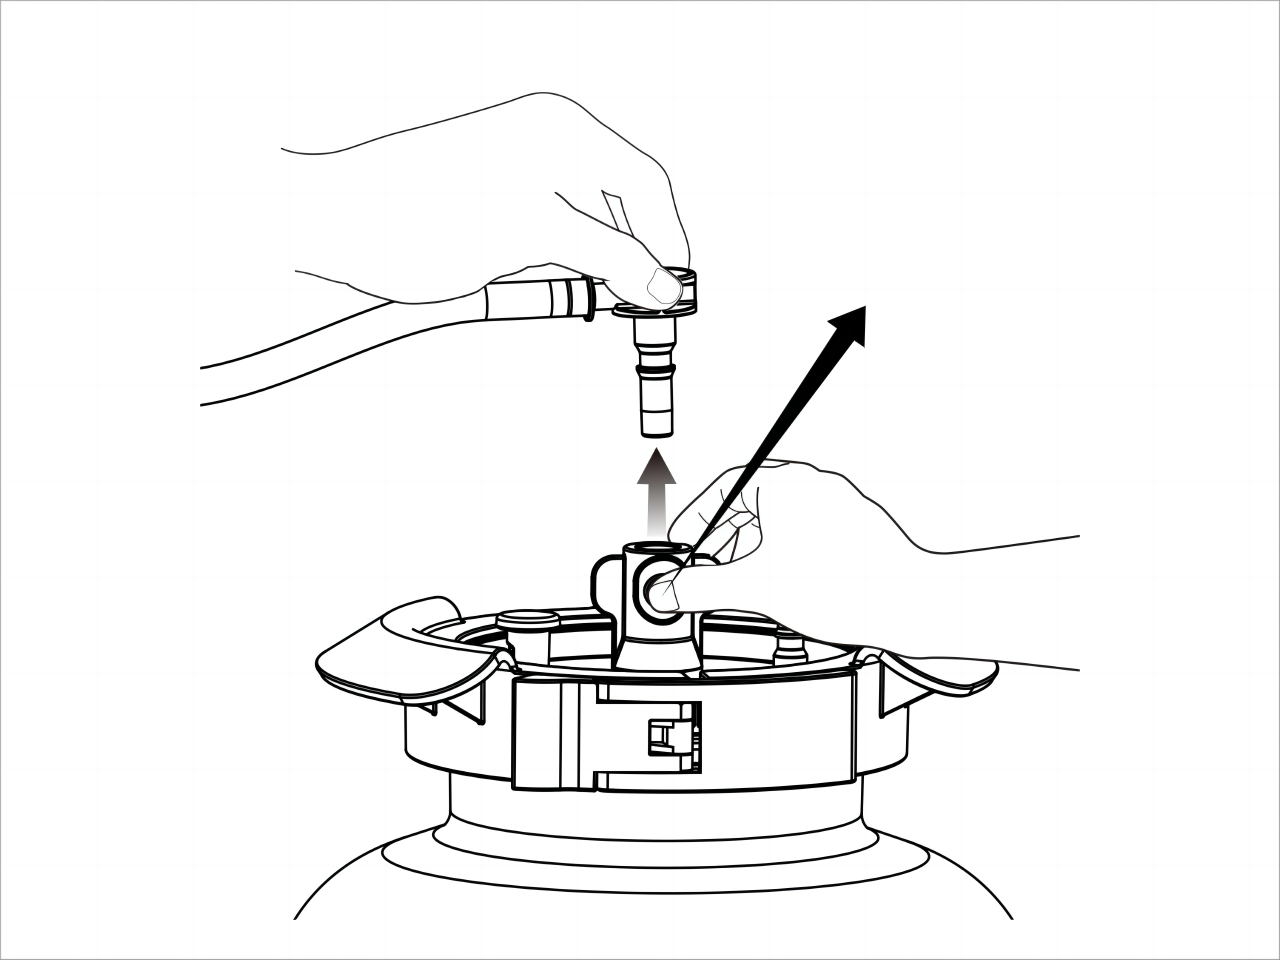
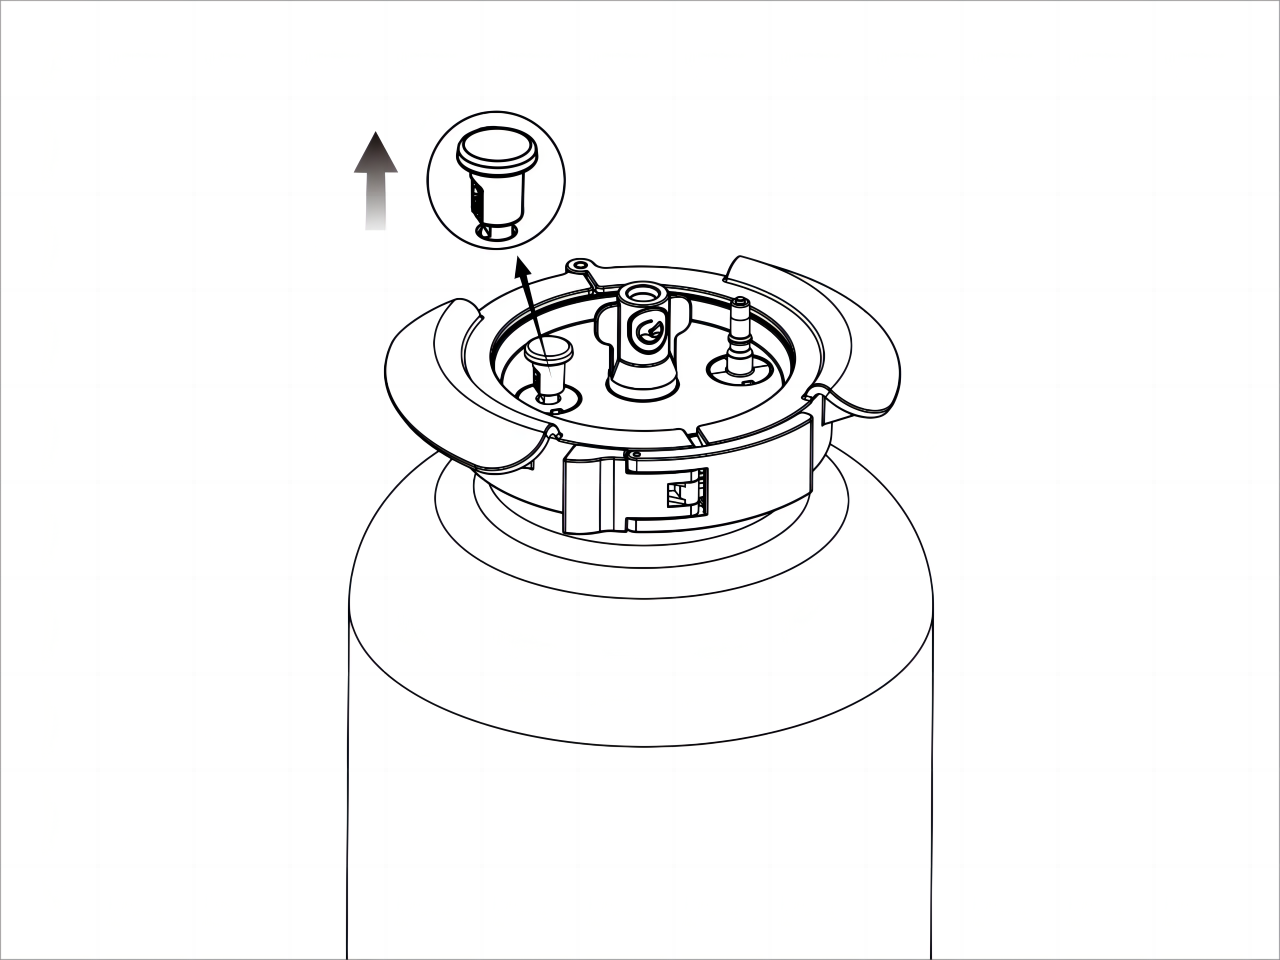
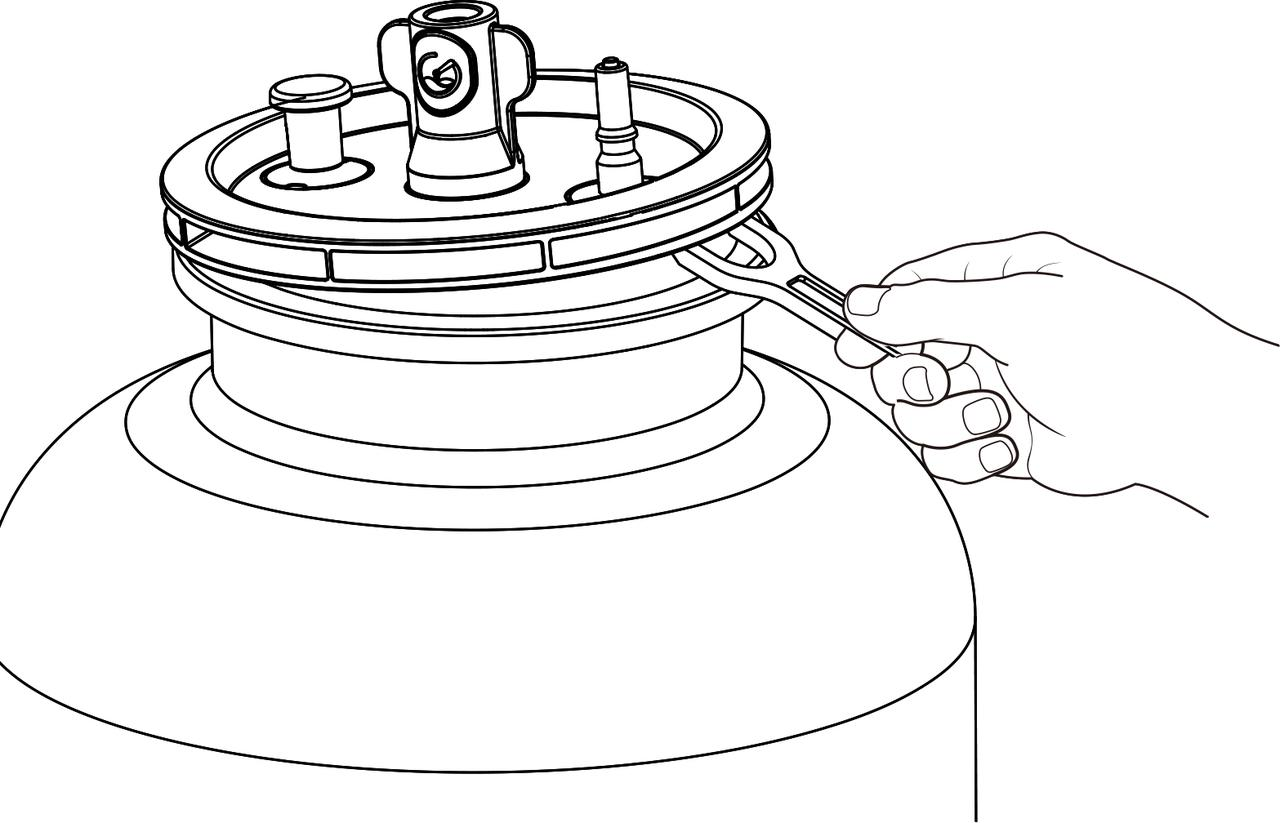
The dispensing outlet of the keg can be unscrewed counterclockwise and removed for cleaning. To keep both ends of the pressurized gas inlet properly connected, insert the dispensing tube plug into the keg’s dispensing outlet as shown in the diagram, and then clean them together as a single unit.

2.Main Unit Cleaning
Step 2:Move the fermentation keg to a sink or basin.
Step 3:Wipe the interior of the machine with a soft cloth and clean water.
Step 4:Use a dry, soft cloth to absorb any remaining water.
Step 5:Once the machine is completely dry, close the top cover to prevent foreign objects from falling inside.
Before cleaning, make sure the power switch is turned off and the power cord is unplugged.
Use a soft, damp cloth to wipe the machine. Do not use abrasive cloths, scouring pads, or similar materials.
Do not use solvents or harsh chemicals. Mild detergents are acceptable.
Do not pour water into the machine or immerse it in water.
Ensure the machine is completely dry before reconnecting to power and using it.
Never turn the machine upside down to drain residual water.